


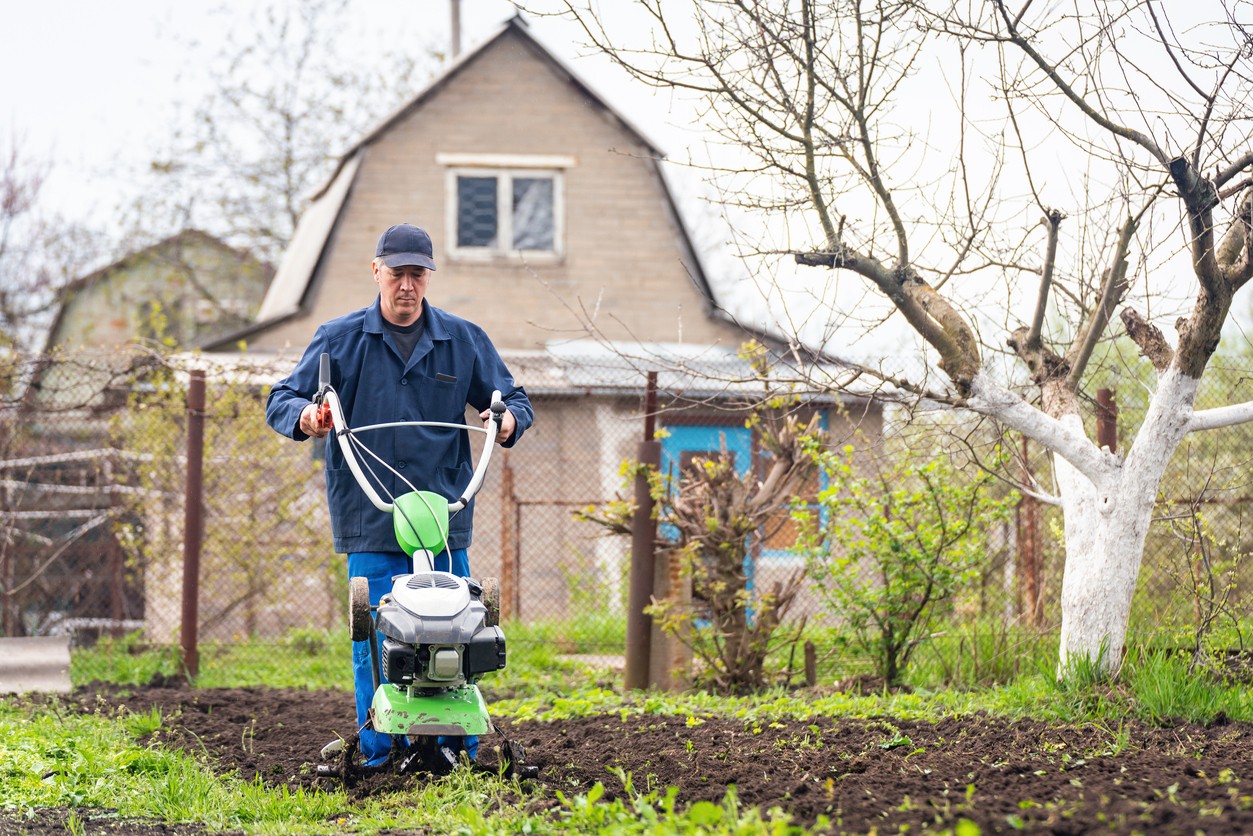
Gardening can be a satisfying and rewarding hobby but it can also be a source of frustration and angst if you don’t have the right technique. Having the right knowledge and tools to make your garden thrive is key. Unfortunately, many people don’t understand the basics of garden tilling and end up ruining their gardens in the process.
In this post, we’ll discuss some reasons why it’s essential to rethink your garden tiller technique, and how to avoid the agony of garden tiller failure. We’ll explain the importance of proper soil preparation, the types of soil that are best for tilling, and how to choose the right tiller for your needs. With the right knowledge and the right tools, you can enjoy the benefits of having a beautiful, healthy garden without stress and frustration.
Properly tilling a garden bed is essential for successful planting. Unfortunately, many gardeners fail to take the time to understand this critical aspect of garden maintenance and end up paying for it in terms of both time and money. Here are some reasons why gardeners should rethink their tilling technique and avoid garden tiller agony altogether.
Reason 1: Understand Your Soil
Characteristics
The first step in successful tilling is understanding the characteristics of your soil type. Is it clay-rich, sandy, or loam? Understanding the texture and structure of your soil will allow you to properly adjust your technique accordingly.
Test Your Soil
It’s also important to test your soil’s pH levels or nutrient content before working on it with a tiller in order to determine if additional fertilizers or amendments need to be applied before planting. Knowing the specifics of your soil will ensure that your plants have the proper growing environment for optimal results.
Reason 2: Consider the Weather
Seasonal Considerations
Different seasons require different tilling techniques, as weather conditions can affect both ground temperature and moisture levels. For example, spring and fall tend to be less intense than summertime, which means that you may be able to get away with using less fuel when tilling in these seasons than you would during summer months when conditions are drier and temperatures are higher.
Loosening Dry Soil
If you find yourself tilling in dry conditions such as during the summer heatwave, consider loosening up your soil with a little water prior to running your tiller over it. This will make it much easier to work with and will help prevent damage to your equipment due to excessive strain on its components.
Reason 3: Tiller Maintenance
Basic Tools and Supplies
It’s much easier to work with a well-oiled machine than one that has been sitting idle for a while accumulating dust, rust, and other debris in its components. Make sure that you keep basic tools such as wrenches, grease guns, and screwdrivers on hand so that you can address minor troubleshooting issues as they arise without having to call for service techs every time something goes wrong with your machine. As an added bonus, oiling components regularly helps ensure their longevity as well as makes them much more pleasant to work with when you’re running them continuously over large swathes of land.
Cleaning and Sharpening
Another important maintenance practice is cleaning the blades of your tiller after every single use (or at least weekly) so that they remain sharp and free from dirt buildup that can clog up their workspaces over time reducing efficiency and performance levels significantly. If necessary, replacing old blades with new ones as needed also helps keep your tiller running smoothly throughout its expected lifespan without any major hiccups along the way.
Reason 4: Pre-Till Preparation
Determine Plant Rows and Paths: Before breaking out your trusty tiller for what could be some hard-core gardening action, take a few moments to plot out where exactly you want those plant rows or walkways laid down throughout the area you’re working in-it’ll save you from potentially having to retrace your steps later when adjusting placement or dimensions if something isn’t quite right the first time around due to inexperience or bad footwork while plotting out measurements across uneven terrain or bad soil conditions which can throw a monkey wrench into even the most seasoned gardener’s plans if they aren’t properly prepared ahead of time for any obstacles along the way (hello soil compaction!).
Loosen Soil Before Tilling
Once you’ve decided on where exactly you want those paths and beds laid down, use either a shovel or spade fork (depending on the size of the area) to loosen up any existing hardened clods of the soil before rolling out your trusty tiller into action. Hardpacked dirt can potentially cause damage both to its parts as well as hinder performance levels overall due to excessive strain on its engines from having been overworked. Trying to break through thick layers of ground sediment as opposed to the soil that has already been prepped throughout prior measures taken such as adding organic matter before running any tillers over top of them which not only makes it more manageable beneath their blades but also increases oxygenation within their root systems for better water penetration.
By following these simple tips and techniques, gardeners will be able to successfully avoid garden tiller agony down the line and ensure that their gardens stay beautiful, productive, healthy, and enjoyable for all who come around them!


