


Get cozy in the backyard with a DIY firepit
Our DIY firepit uses supplies easy to find at your local home improvement center and can go together in just a few hours. Watch the video above and find helpful project tips in the steps below.
Check before you dig!
Check building codes and ordinances to make sure firepits are allowed and if any restrictions apply. And to avoid accidents, call 811 or your utility provider to mark the location of underground lines. Choose a relatively flat spot that is at least 25 feet away from flammable structures and at least 10 to 20 feet from trees or shrubs. Before choosing the final spot, note the movement of wind at different times of day — you’ll want to avoid smoke wafting through windows or doors.
Project tip
We decided to site this DIY firepit in an underused spot on the northwest side of the house. The typical airflow in this area is away from the from the neighbors to the west and far enough away from those to the north and east. And, there is a spigot and garden house conveniently nearby!
What you'll need to build this DIY firepit
Materials
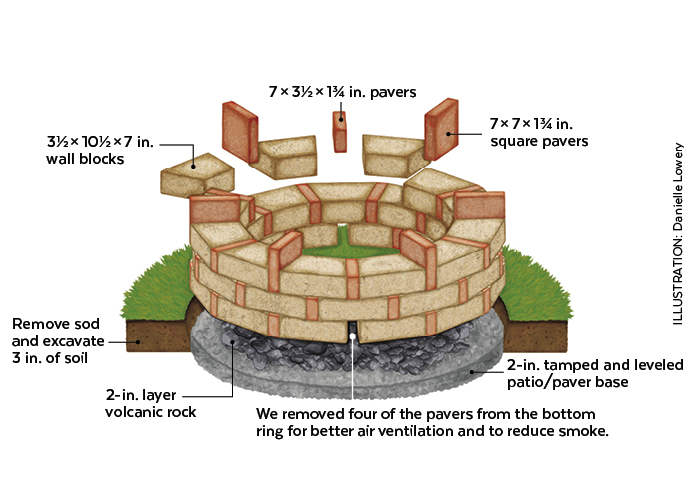
- 3½ × 10½ × 7-inch concrete garden wall blocks (36)
- 7 × 3½ × 1¾-inch concrete pavers (26)
- 7 × 7 × 1¾-inch square concrete pavers (6)
(we used RumbleStone®) - 0.5-cu.-ft. bag patio/paver base (3)
- 0.5-cu.-ft. bag volcanic rock (2)
- Tube landscape adhesive (1)
Tools
- Measuring tape
- Stake
- String
- Marking paint
- Garden spade
- Garden rake
- Hand tamper
- Level
- Rubber mallet
How to build a DIY firepit
Check out the illustration above that shows the overall firepit construction and follow the steps below to build your own DIY firepit.
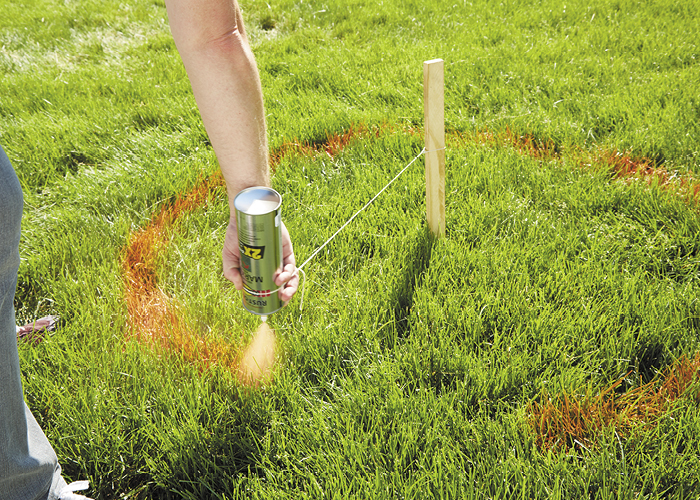
Define the size of the firepit
The recommended size is between 36 and 45 inches in diameter — ours is 45 inches. To define the dimensions, drive a stake in the center of the area where the firepit will go (we made a 48-inch circle to make sure that the blocks fit within the excavated area). Measure a string half the planned diameter. Tie the string to the stake and use marking paint, walking around the stake in a circle, string extended, to paint the perimeter.
Project tip
Do a test run by laying out a ring of blocks and pavers on your patio or driveway to determine the exact diameter you would like for the firepit.
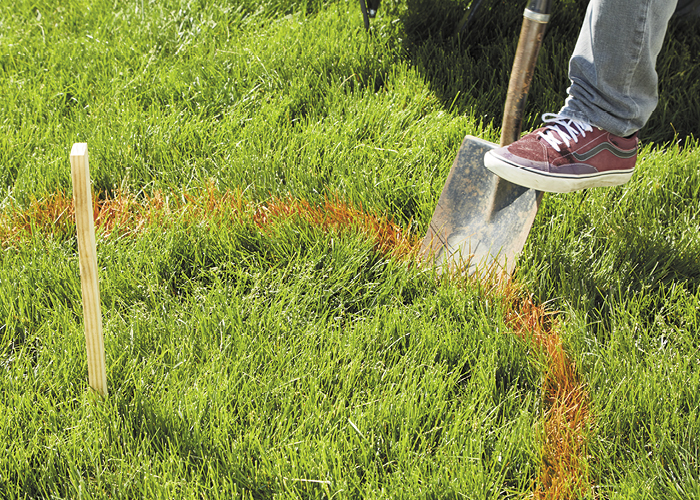
Prepare the area
Excavate 3 inches of sod and soil. If the yard is sloped, you may need to dig down deeper on one end to ensure that your installation will be level.
Project tip
Some DIY firepit tutorials will say to dig deeper than 3 inches, like you would for a path or patio. But because this is a relatively small area and nonweight-bearing structure, 3 inches deep is just fine. Save your back!
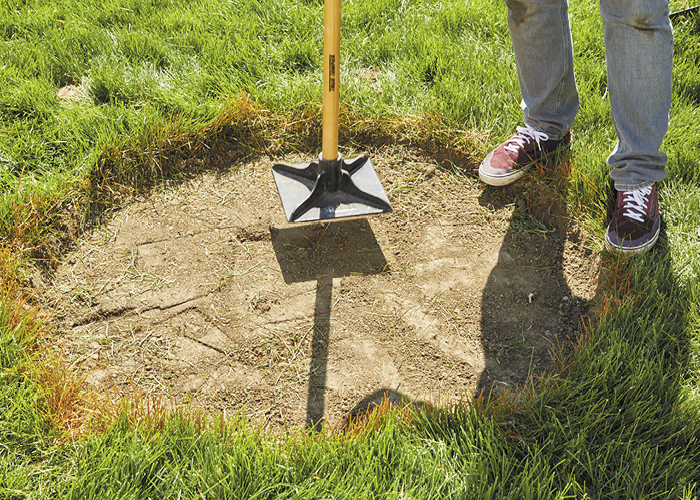
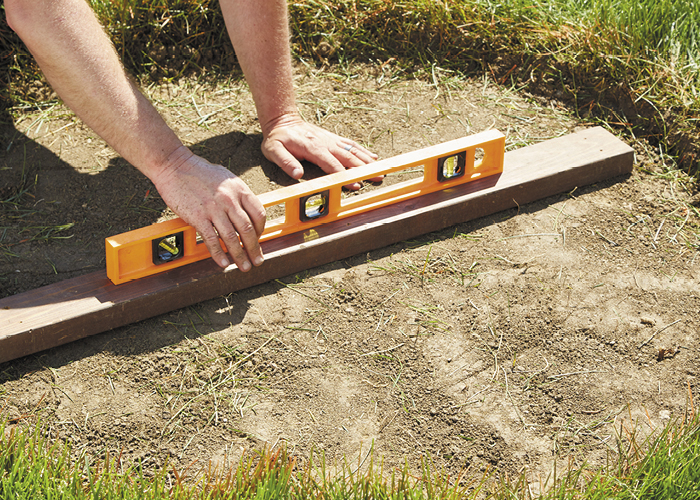
Compact and level the area
Compact the soil with a hand tamper. Check the area with a level and adjust where necessary by adding or removing soil as needed and tamp again.
Project tip
Making sure the excavated area is level (and checking in multiple positions within the circle) will help ensure your final project is level at the top course of blocks.
You Might Also Like:
How to Choose the Best Firepit
Upcycled Design Ideas for Your Garden
DIY Marbleized Terra-Cotta Pots
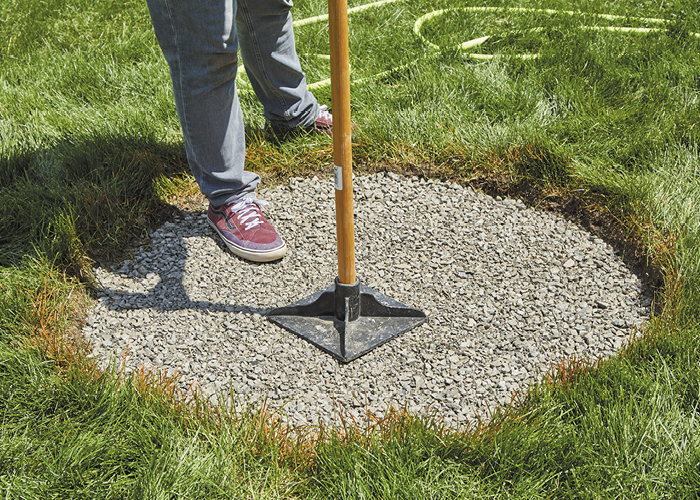
Add paver base
Next, pour a 2-inch-thick layer of paver base into the excavated area and level with a garden rake. Wet the paver base and tamp it down to compact.
Project tip
This is a great time to check how level your area is again.
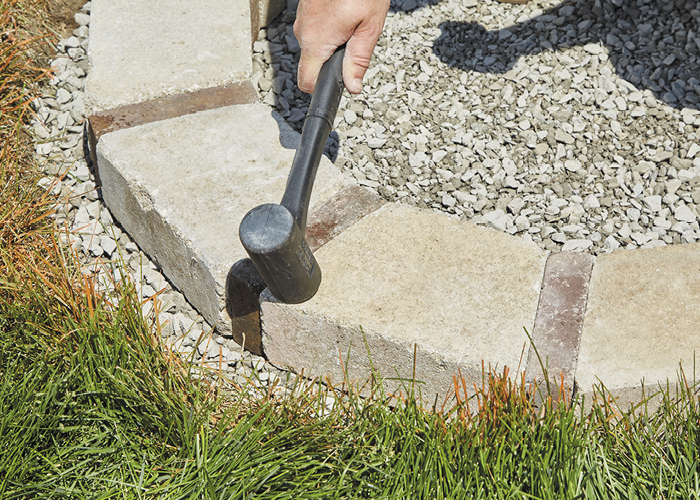
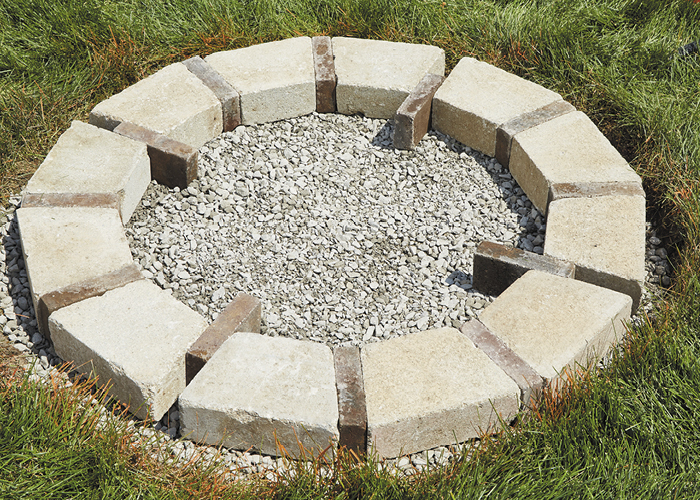
Start laying out the paver blocks
Lay the first course of blocks and smallest pavers around the edge of the pit snugly, alternating as you go. If slight adjustments are necessary for making blocks and pavers level, tap them with a rubber mallet.
Add airflow to the firepit
Once complete, partially slide in every third paver. These will eventually be removed in this first course and will allow more airflow into the pit and reduce smoke.
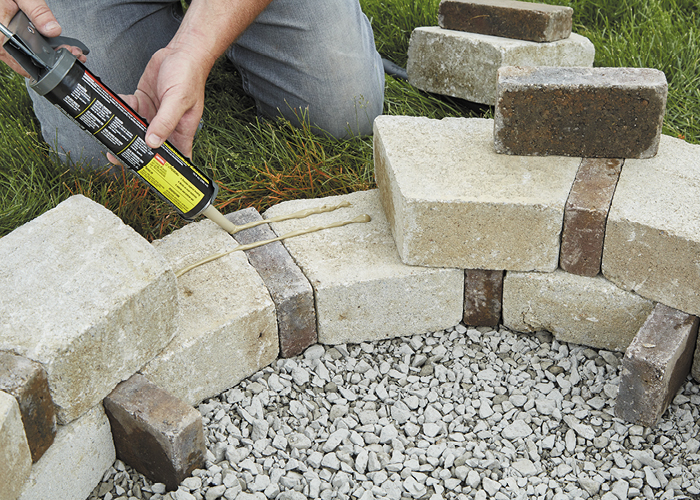
Continue stacking pavers
Set the second layer in place, staggering the joints with the first layer.(You may have to do some slight shifting of the second layer to properly stagger the blocks and pavers). After it is all properly set in place, attach the two courses using landscape adhesive.
Project tip
After the second layer has been secured, remove the four inset pavers from the base layer.
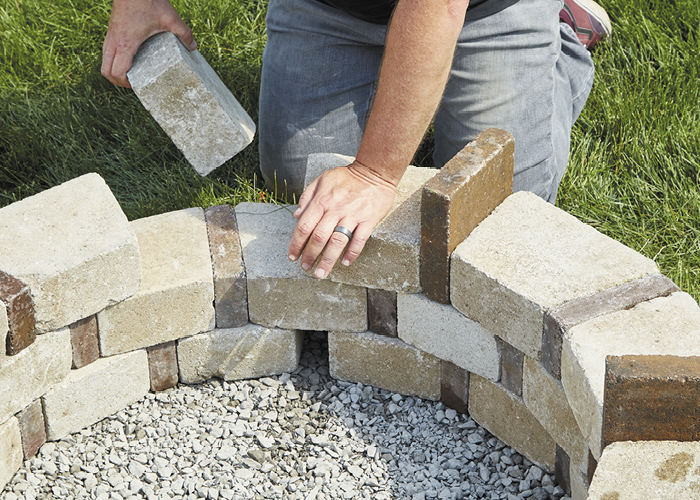
Set the final course
Place and secure the third and final course using the same technique used for row two except alternate the small and square pavers. The square pavers are elevated to accommodate a 36-inch grill grate on top. If you prefer a flush top, use smaller pavers instead. Lock in place with landscape adhesive.
Project tip
The grill grate adds functionality to the firepit. Plus, it helps keep the pets out of it when not in use.
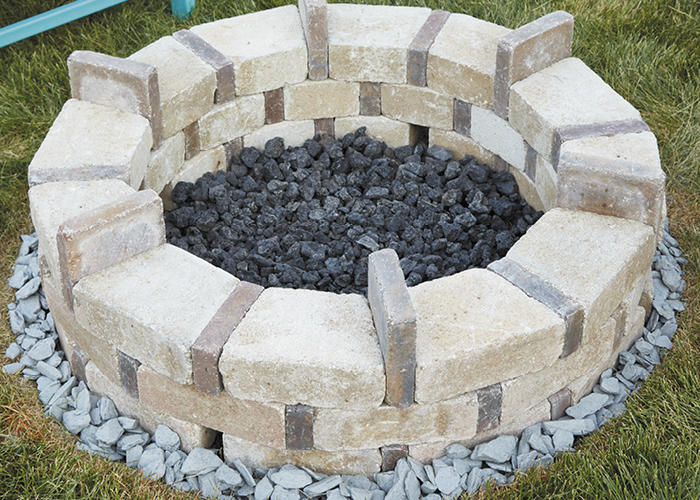
Add lava rock
Add about 2 inches of lava rock within the cavity. Let the adhesive dry for approximately two days before enjoying your first fire.
Project tip
The sod should eventually fill in around the base of the firepit, but we dressed the edge with decorative slate chips left over from another project.
You Might Also Like:
Patio Design Ideas
DIY Garden Chandelier
DIY Privacy Screen
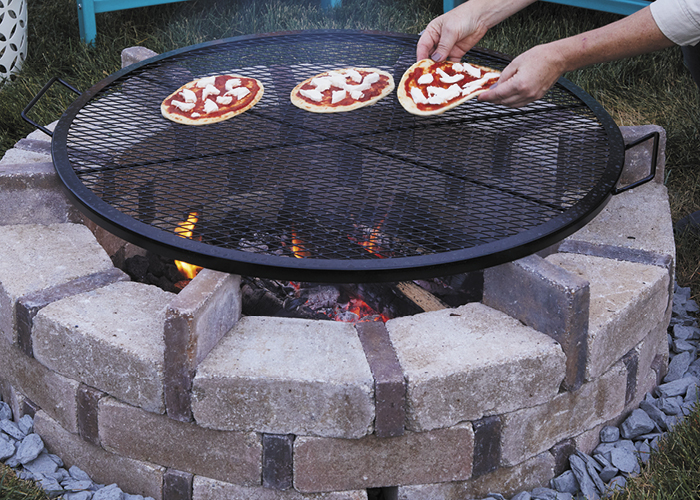
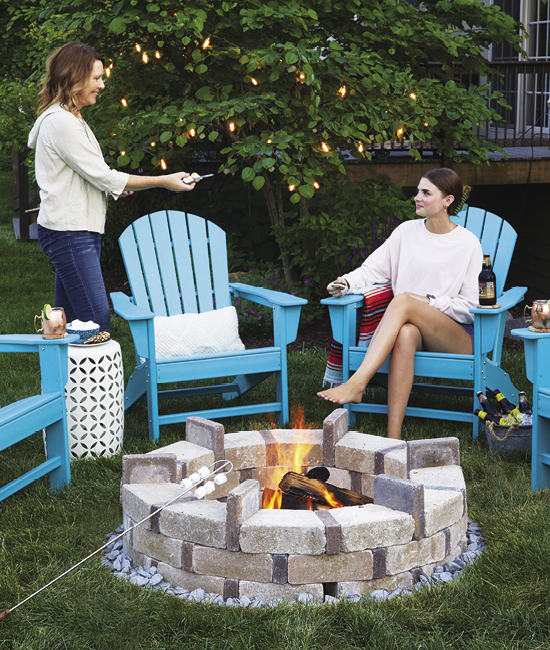
Enjoy your DIY firepit
Once your firepit has set for a couple days, it’s ready to enjoy. We’ve spent many evenings with our adult children and friends enjoying a calm fire, beverages, these easy mini grilled pizzas and of course, s'mores!
Project tip
Try using frozen naan bread, good jarred tomato sauce and fresh mozzarella to make prepping for a gathering easy and delicious.


