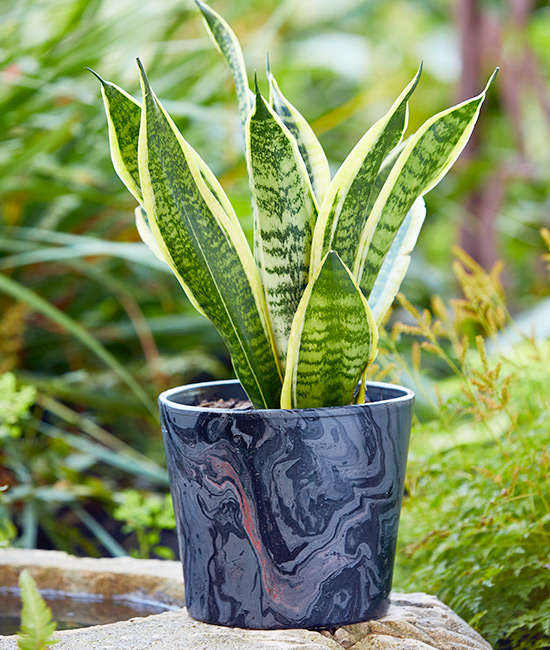
Give your pots a chic, marbleized look
Of all the ways to paint clay pots, creating this marble effect with spray paint ranks at the top for us. The finish is classy and a cinch to pull off. But the end result resembles high-end marble.
What you’ll need to marbleize your clay pot
Check out the materials list below and you’ll see that you probably have most of the supplies around your home already. We tested out a couple of pots using the spray paint we had on hand to get a feel for the project and then purchased paint in a specific color palette to get the exact look we wanted.
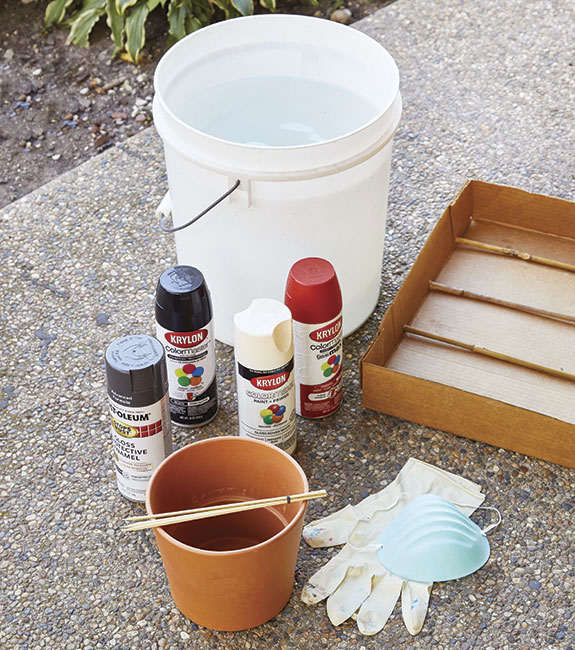
Materials
- 5-gallon bucket or deep plastic tub filled with water
- Terra-cotta clay pots (4 or 6 in.)
- Spray paint (base coat and 2 or more colors for marbling)
- Latex gloves and painter’s mask
- Bamboo skewers
- A cardboard tray and bamboo stakes
Pick your palette
The palette options are infinite — explore some great color ideas in our how-to video. In the pot you see here, we chose to use a matte gray, glossy black, creamy white and a touch of red to create a classic marble look. Look for color inspiration in your garden or home decor to help you choose your palette. Check out some of our favorite color palettes we experimented with in this PDF.
Collecting your materials will probably be the most time-intensive part of this project. The rest of the steps are a breeze and fun to experiment with!
You Might Also Like:
DIY Stepping Stones
Upcycled Vertical Pallet Planter
DIY Rain Chain
Garden Project Tutorials
How to marbleize a clay pot
Step 1: Start with the base color
Prepare a drying space within arms reach for your pot to dry. We repurposed a cardboard nursery flat and cut a bamboo stake into sections that fit inside the flat. The pot can rest upside down while it dries here.
Wear gloves and a painter’s mask and spray paint the pot with the base color. We chose a matte charcoal gray. The paint won’t take longer than 10 minutes to dry. While you wait, fill the bucket or tub with water deep enough to completely submerge the pot.
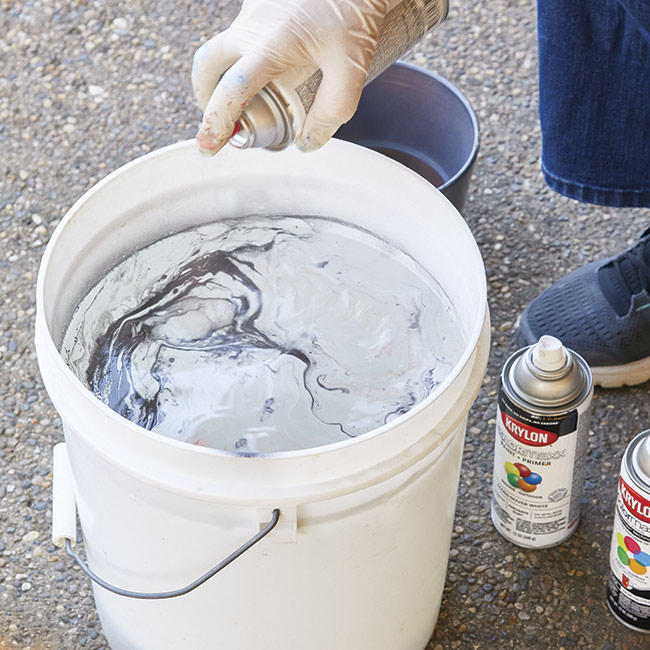
Step 2: Prepare the paint
Next you’ll create the marble layer — be prepared to work quickly with these steps. First, completely spray to cover the surface of the water in the bucket with a layer of paint. Without delay, spray another layer of a different color of paint, and keep spraying alternating layers of color to create a solid film of paint on the water’s surface. We sprayed 5 to 7 alternating layers of black and white with one quick spray of brick red for a pop of color.
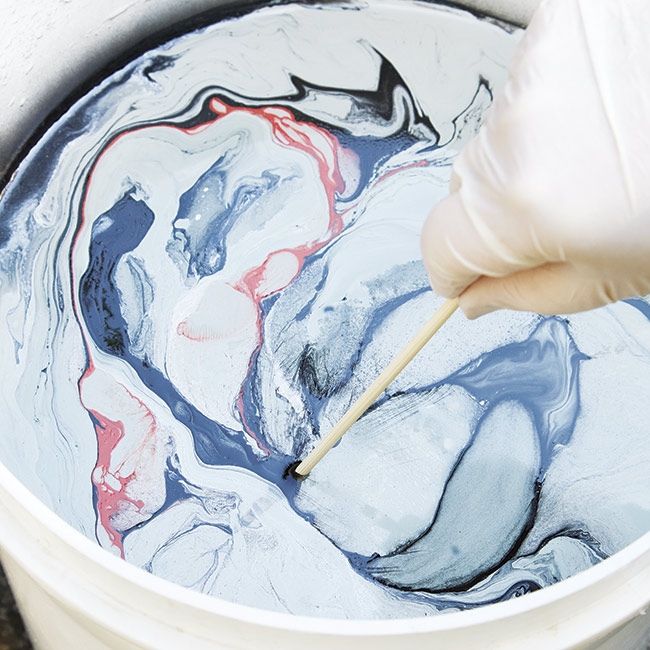
Step 3: Create the marble effect
You can see the marble effect beginning to form on the surface above. Next, grab the wooden skewer and, using the tip like in the photo above, gently swirl the colors together a few times until you see a pattern that appeals to you.
Project tip
- If you want to do multiple pots in the same bucket of water, skim the surface with your gloved hand or use an old mesh strainer to collect the leftover paint.
- To use a different color palette, be sure no previous paint remains. If it can't be removed, it's best to dump the water and refill the bucket.
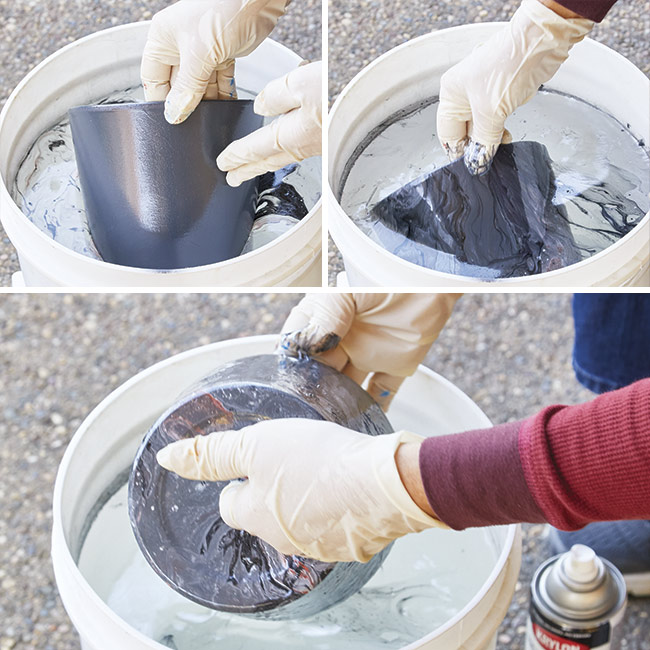
Step 4: Dip your pot
Holding onto the edge of the pot, slowly dip to submerge it. You can see above that we held it at an angle so that water flowed in through the drainage hole and submerged easily.
As the pot is completely submerged, gently twist it back and forth to break the film of paint on the water’s surface. This prevents any accidental “double dipping,” which can muddle the marble pattern.
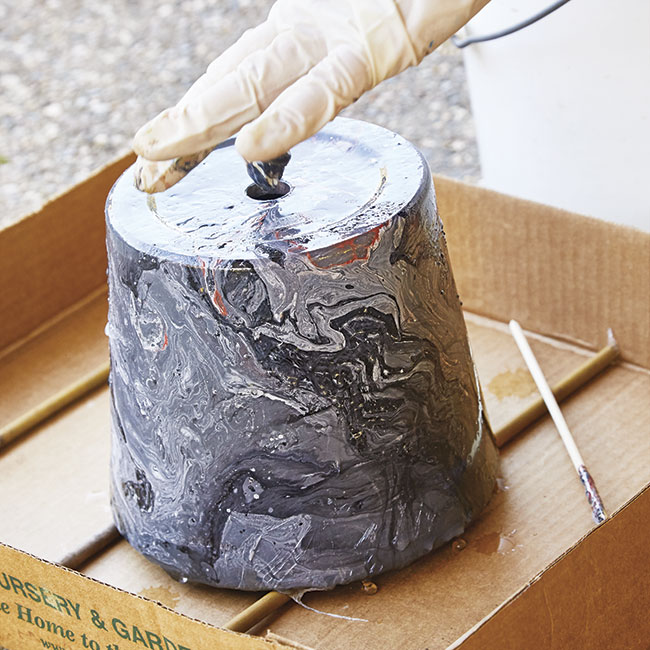
Step 5: Let it dry
Remove the pot slowly and set it upside-down to dry on a homemade rack made from a cardboard nursery flat and bamboo stakes cut to fit, like you see above. Inserting a finger through the drainage hole gives you a way to hold the pot without touching the paint. Your marbleized pot will be dry in no time and you can admire your terra-cotta transformation!
You Might Also Like:
12 of the Best Container Plants
How to Build a Terrarium
DIY Sand-Cast Birdbath
Upcycled Planters for an Easy Container Garden
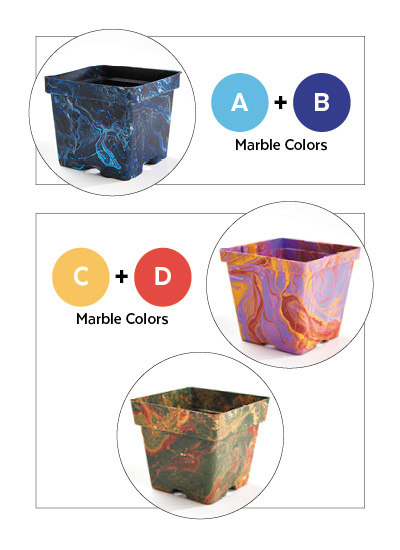
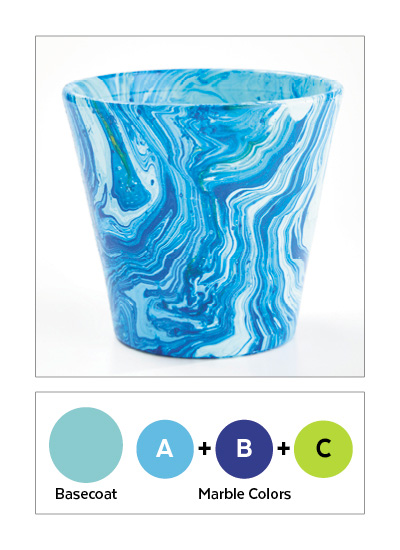
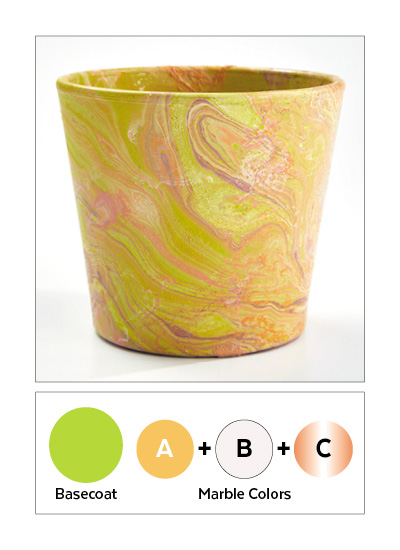
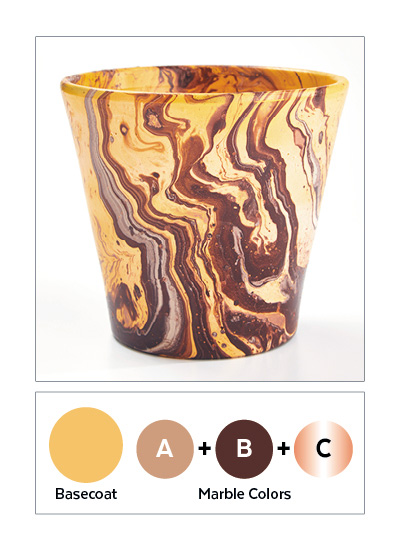
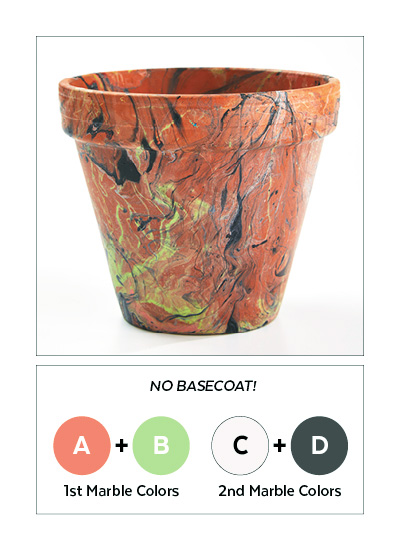
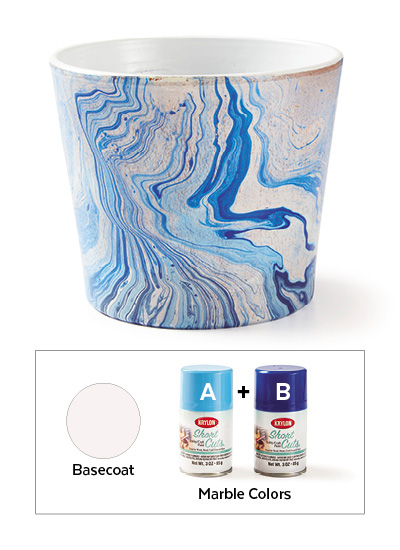
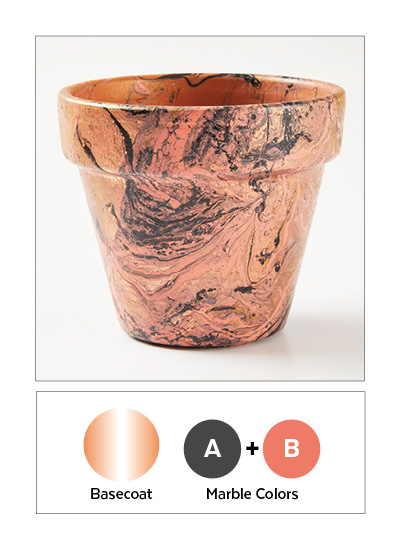
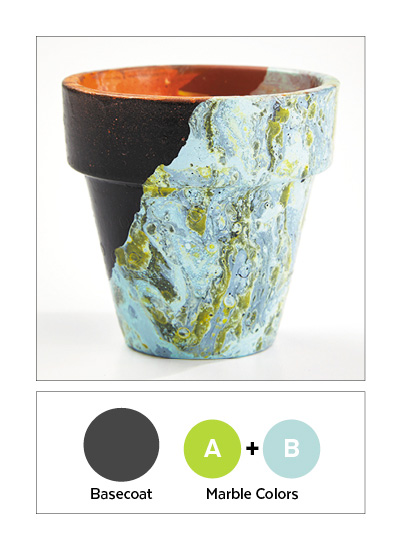
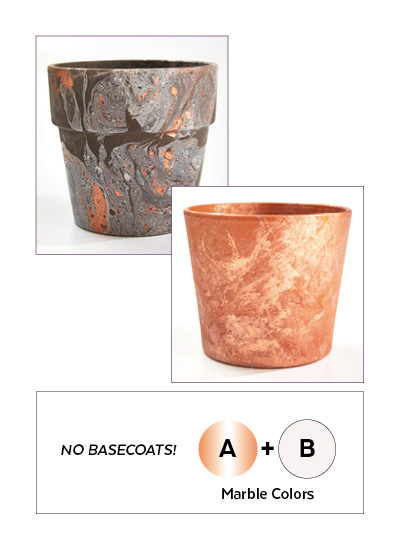
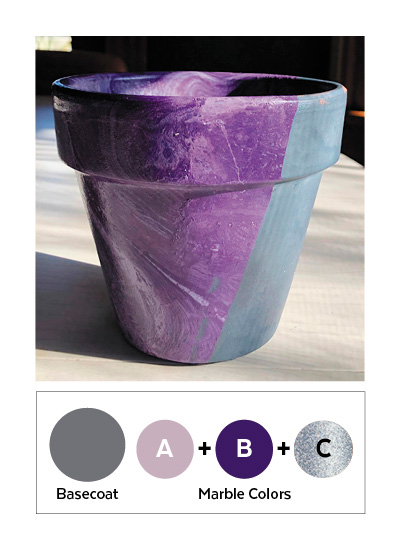
Marbleized color palette inspiration
Check out these different color palettes we experimented with for this project in the gallery below. You can also download this PDF to print out as a reference.