Create simple mood lighting with DIY jar lanterns
A summer evening sitting on the patio is even more enjoyable with the soft glow of a lantern nearby. Rather than buying one, I gave a 32-ounce pickle jar a new look using spray paint, a stencil and outdoor craft paint. Battery-operated firefly lights provide the illumination, but a tea light candle works, too. If you use the firefly lights, make sure the battery housing fits through the opening of the jar and ideally lies flat on the bottom. Watch the video above to see how this project came together!
Materials
- 2-in.-wide painter’s tape
- 2 cans of spray paint; I used Krylon Matte Rain Drop (color 1) and Satin Cactus Green (color 2)
- 32 oz. pickle jar
- Craft stencil (6×8 inch)
- Outdoor craft paint; I used Apple Barrel® Gloss White
- Stencil brush
- 2 6-in. strands of beads
- LED firefly battery-operated lights
- Spray adhesive, hot glue gun
- Clear stretch cord (for beading)
How to make DIY jar lanterns
Step 1: Prep and paint the jar
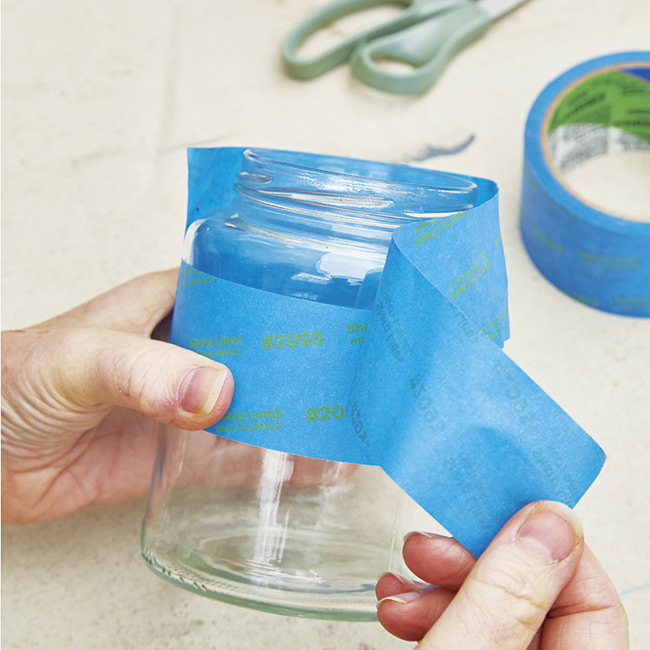
Wrap 2-inch-wide painter’s tape around a clean pickle jar. This will leave a section of the jar clear after you’re done painting, making a nice textural contrast and a window for light to shine through. I’ve found that positioning the stripe toward the top of the jar makes it easier to hide the battery pack for the firefly lights.
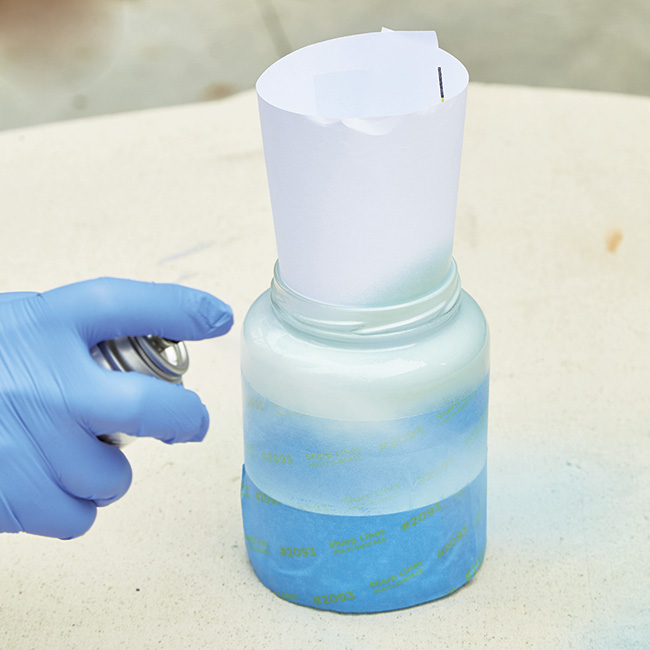
To prevent overspray when you paint the bottom section, put a second piece of tape around the top portion of the jar — you can see how it looks in the photo above. Apply color 1 to the bottom. Let it dry for 30 minutes, tape the bottom portion of the jar and spray paint the top panel with color 2. The photo below shows you how I added a piece of rolled paper to the mouth of the jar so the spray paint didn’t get inside.
Step 2: Stencil the jar lantern
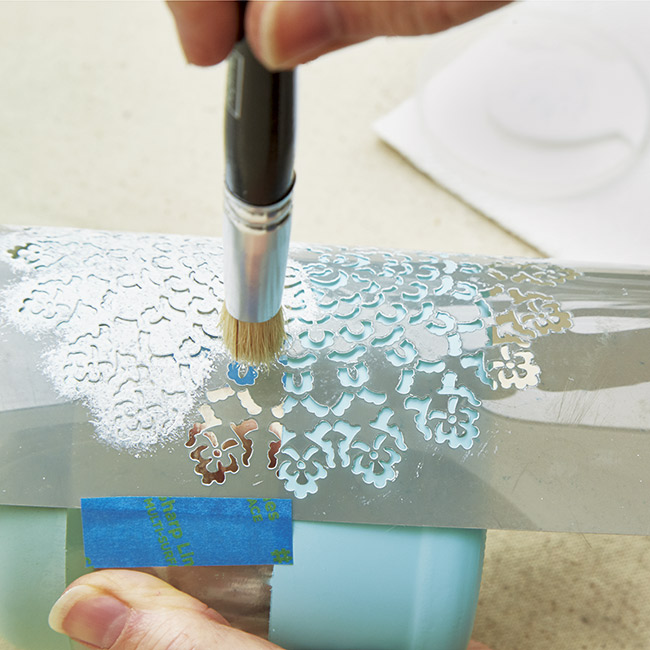
I chose this intricate stencil pattern because the smaller shapes allowed more light to shine through than chunkier designs did. To attach it to the jar, apply a light coat of spray adhesive to the back of the stencil and let it dry for 5 minutes. Wrap the stencil around the jar as I did in the photo and secure each side with a piece of tape.
Use a stencil brush to lightly dab the outdoor craft paint into the design. The paint’s glossy appearance is a nice contrast to the matte of the spray paints. One thing I learned was to avoid using a thick layer of paint or it will bleed under the stencil even with the adhesive. It’s better to go back afterward and touch-up light spots than to have blobs of paint where you don’t want them. When you’re done, carefully peel back the stencil and let the paint dry.
You Might Also Like:
Patio Design Ideas
DIY Garden Chandelier
How to Make Wine Bottle Garden Lights
Step 3: Cover the rim and add lights
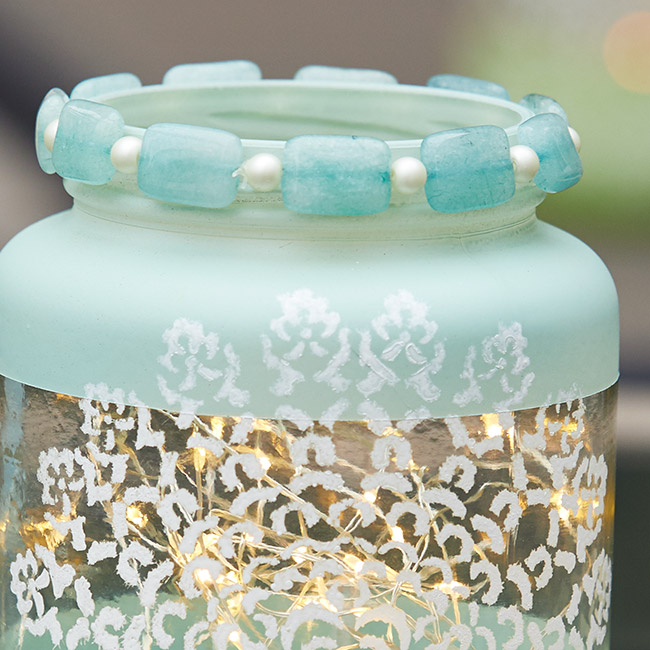
Covering the threads of the rim dresses up the lantern — you wouldn’t even know it was a jar! I really liked these rectangular beads from the craft store. I strung them on clear stretch cord and used a hot glue gun to secure them. Place the battery-operated firefly lights in the jar and you’re ready to set the mood. If you decide to use tea light candles, be careful because they can heat up the glass, making it hot to touch.
This project was so much fun that I came up with all the variations you can find below. Mix and match your favorite looks to add a warm, friendly glow to your favorite outdoor (and indoor!) living spots.
More DIY jar lantern inspiration
The great thing about this project is that you can use it in so many different ways on all sorts of jars, with different colors and patterns — let your imagination take off!
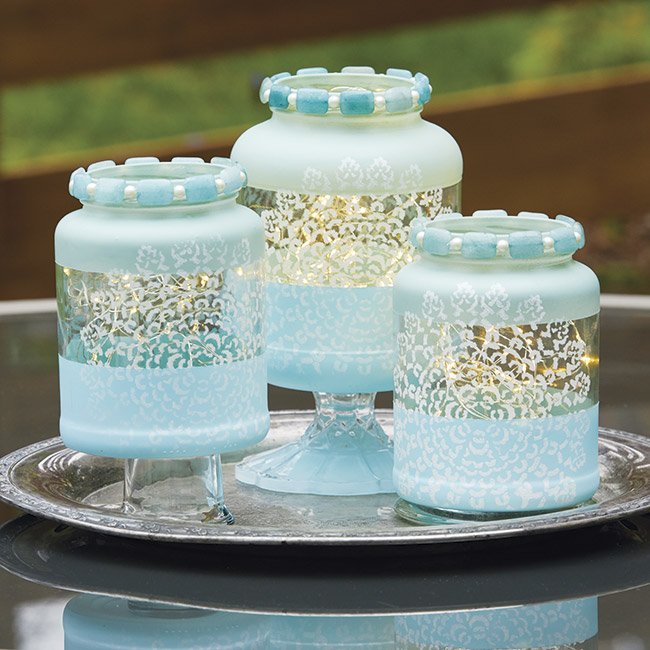
Add height to a grouping of lanterns
When your jars are the same shape and size, adding height is a great way to keep the grouping interesting. I found a variety of candle holders at a local thrift store that did the trick. For the tea light holder and pillar base, turning them upside down made an attractive and sturdier base.
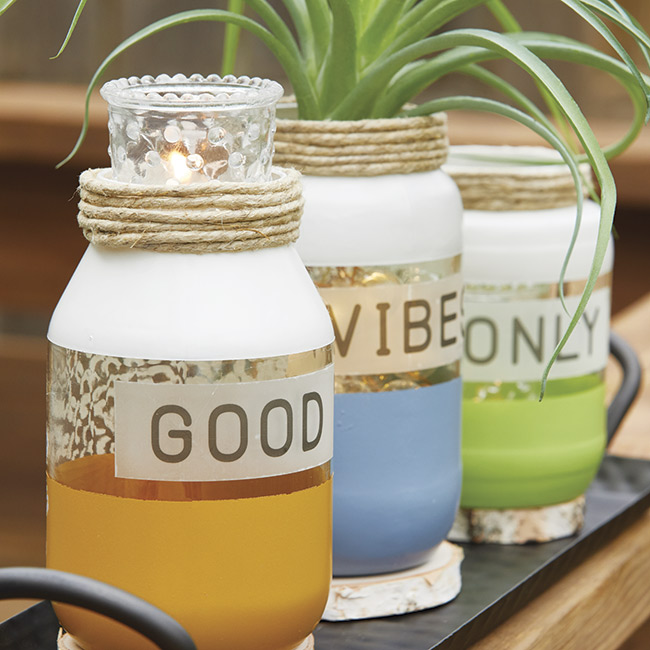
Mix it up with different jar lanterns
Use a variety of jar shapes and colors to create this eye-catching display. Add a phrase or words to the unpainted center panel using Avery® mailing labels. Templates can be found online to make labels from home using your computer and custom fonts. Just design, print, peel and stick!
You Might Also Like:
Tabletop Planter Ideas
Easy Upcycled Planters
Yoga Garden Plan
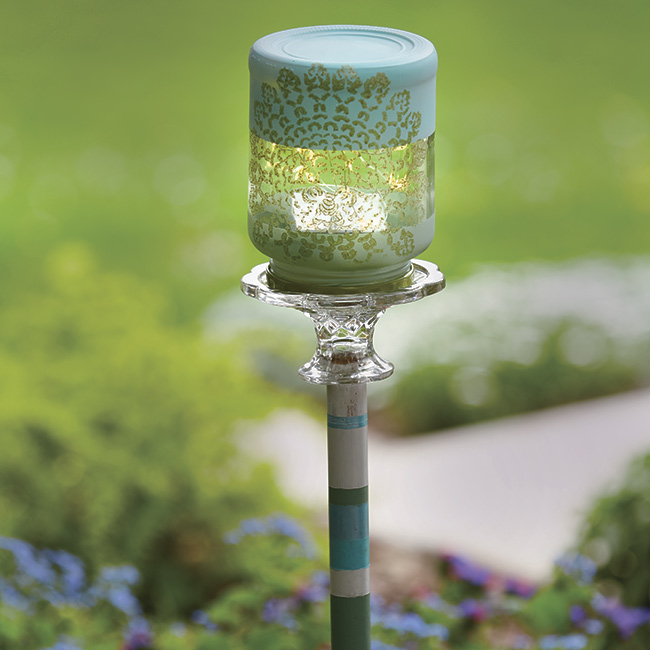
Create an elevated light
Get your lantern up high by making a post. I used 2½-ft. from a broken broom handle and a glass candlestick turned upside down. Since the jar is also inverted, rainwater stays out and it’s easy to unscrew the lid to add the firefly lights. To put it together, epoxy the broom handle inside the candle holder and then the jar lid to the base. Paint the post to match.