Shine some light on your garden by creating your own stylish copper patio torches. Follow along with our simple step-by-step instructions!
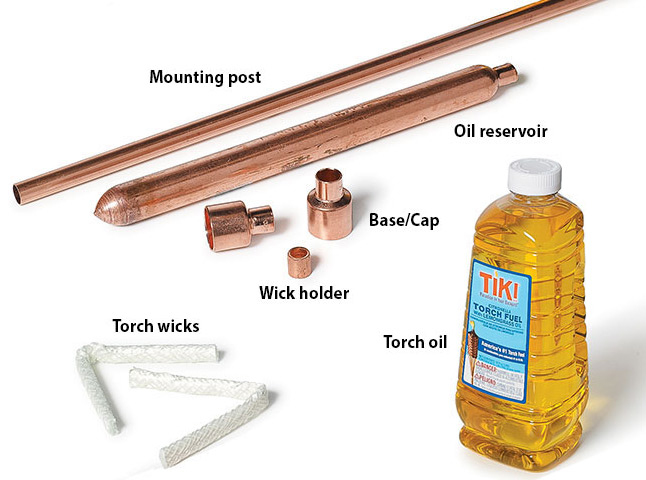
A great patio torch does a lot of work. It looks good, sheds light on your outdoor space and keeps pesky bugs away. And now you can have a set of copper patio torches without burning cash! At your local hardware store, pick up the items in the materials list below along with a medium-grit abrasive pad and a pipe cutter. (Be sure it can cut through pipe more than 1 inch in diameter). Then, click through the slideshow at the end for step-by-step instructions for illuminating your garden with your own handiwork!
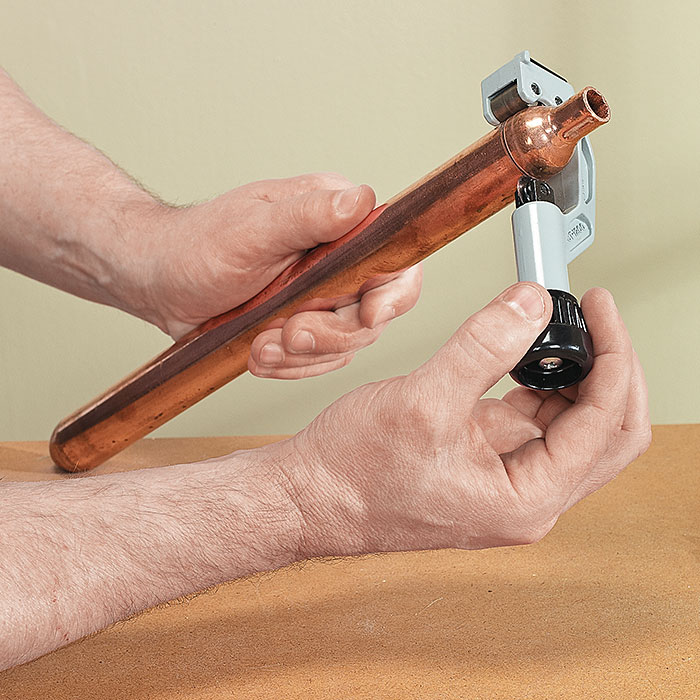
In order for the torch to burn for long periods, you need to have an supply of oil available to the wick. To make the 12-in.-long oil reservoir, cut off the open end of the air chamber. Just cinch down the length of pipe, like we did in the photo, and rotate the cutter.
| 2 of 7
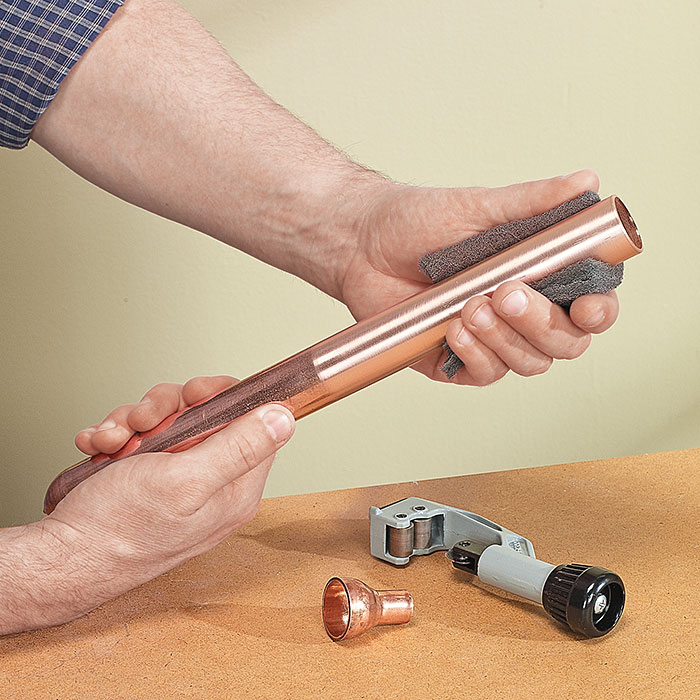
Add a shiny, brushed look
If you’d like, add a brushed, shiny look to the oil reservoir (and other parts of the pipe) by rubbing a medium-grit abrasive pad across the copper surface. Then wipe away any residue with a clean cloth.
| 3 of 7
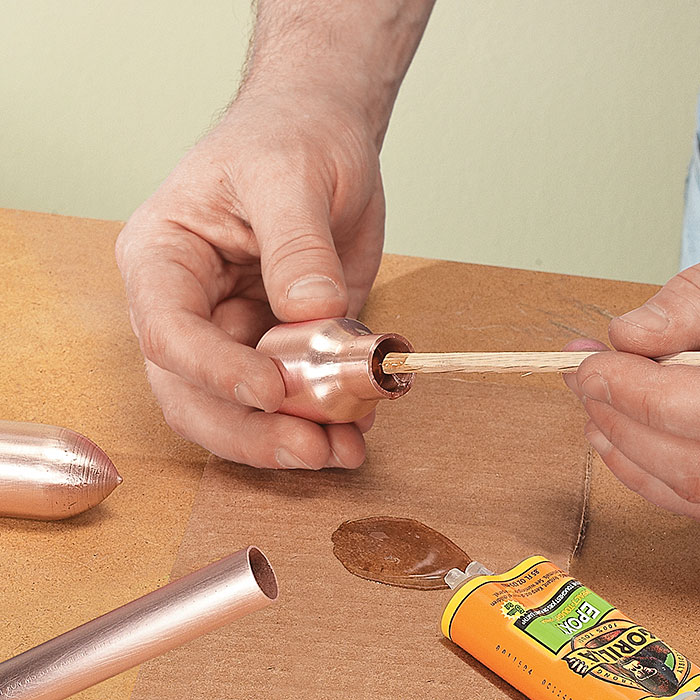
Mount the oil reservoir on the post
For the mounting post, we just used a 5-ft. length of ½-in. copper pipe, but yours can be any length you like. Connect the oil reservoir to the post with a reducer. Spread a small amount of epoxy inside the reducer, just like we did here, and then slip it on the post as a base that will hold the oil reservoir.
| 4 of 7
Protect the copper finish
Preserve the copper’s sheen by spraying a few coats of clear water-based polyurethane over the torch. Make sure it’s rated for outdoor use and has dried fully before continuing to the next step.
You can also leave it bare, and the copper will age, forming a patina.
| 5 of 7
Add the cap and the wick
Make a cap for the oil reservoir using another reducer, but slip this one on without any epoxy so it’s easy to remove when you need to refill oil.
Slide the wick through the bushing so only ¼ to ½ in. of it is exposed. The bushing acts as a wick holder, keeping the right length of wick ready to light.
| 6 of 7
Fill the reservoir with oil
Here you can see how easy it is to lift off the cap and pour oil into the reservoir. Make sure there’s enough to saturate the wick before replacing the cap.
| 7 of 7
Kick back and enjoy!
Push your torches into the ground throughout your garden or around your patio, light them and relax. It’s time to enjoy your handiwork!
Here are some supplies and tools we find essential in our everyday work in the garden. We may receive a commission from sales referred by our links; however, we
have carefully selected these products for their usefulness and quality.