Repotting an orchid: It’s not as hard as you might think
With such exotic-looking flowers, orchids might seem hard to grow. But that’s just not true for much of this enormous plant family! The key is to properly repot these beauties when they need a little more room. This will keep their roots healthy and will help make sure they get adequate water and air circulation. Don’t worry, we’ve outlined everything you need to know to successfuly repot an orchid. Scroll on to learn about when to repot, what to repot with, and how to do it!
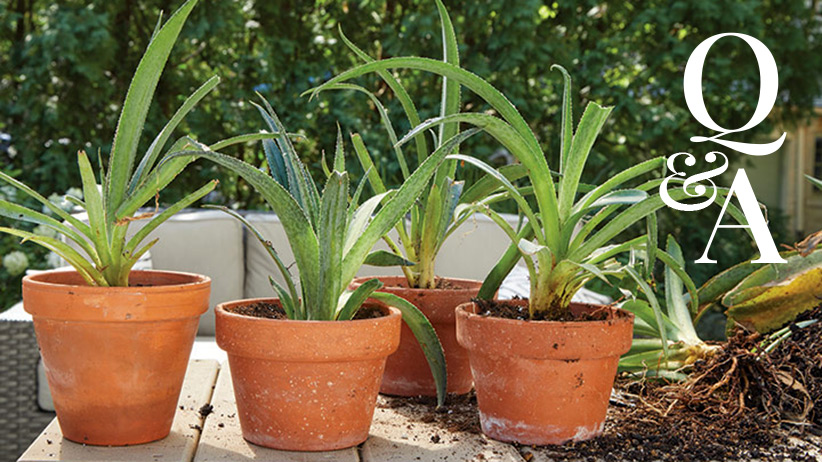
How do you know when it’s time to repot an orchid?
Most orchids potted in bark mixes will need to be repotted every one to three years. The best time of year to repot is in the spring or after it’s finished blooming when the soil is almost dry. You’ll know it’s time to repot if you notice any of these three things:
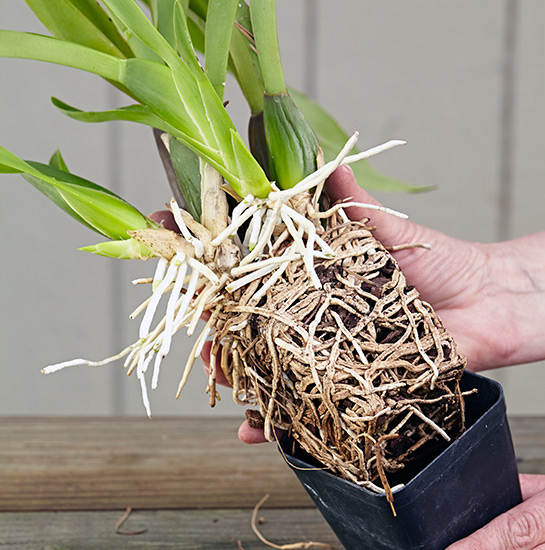
- The plant is overflowing from the container and several roots have started pushing out of the pot.
- The potting medium has broken down into peaty compost. You can tell when a bark-based mix is breaking down if you pour water into the pot and it doesn’t flow freely out of the drainage holes, or tiny bits that look like coffee grounds run out with the water.
- If the roots are packed in, like above, it’s definitely time to repot.
You Might Also Like:
How to Make a Kokedama
How to Create a Spiral Topiary
How to Make & Plant a Terarrium

Choose a good medium and pot
A wide array of materials work well for repotting — just don’t use soil. Look below for our suggestions. Since these plants need good drainage and air movement to their roots, an orchid pot, like this one with holes in the sides, is the perfect container. Choose only the next-size-bigger pot because roots grow better in tight spaces.
Most common mediums for potting orchids:
How to repot an orchid
Now that you know when and with what materials, it’ time to get to work! Follow the steps below for a perfectly repotted orchid.
- Soak the bag of new medium overnight. Tap out the plant from its container and remove all the old bark from the roots.
- Pull off brown, dead, diseased roots and old, yellowing leaves. Before you cut them off, sterilize your utensil with trisodium phosphate or a solution of 1-part bleach to 9 parts water.
- Spread the roots over a handful of medium in the bottom of the pot. Then fill it up, working new medium around the roots. Set the plant so that the roots and stem meet at the top of the medium, then tap the pot to settle everything. Let damaged roots heal for a few days before you water.
- Orchids can get top-heavy, especially before roots take hold and when a plant is sporting a heavy flower spike. You can buy metal stakes that corral spikes or unruly foliage. Or use anything from bamboo to dowels, like you would in your garden.
See more How To tips