Special Gift Offer
URL:
http://www.gardengatemagazine.com/articles/how-to/start-seeds/how-to-harvest-and-plant-milkweed-seeds/?back=https://www.google.com/search%3Fclient%3Dsafari%26as_qdr%3Dall%26as_occt%3Dany%26safe%3Dactive%26as_q%3DHow+do+you+pick+the+seeds+of+a+milkweed+plant%26channel%3Daplab%26source%3Da-app1%26hl%3Den
Share:

How to Harvest & Plant Milkweed Seeds

By: Jennifer HowellJennifer Howell
Learn how to collect, harvest, and plant common milkweed seeds to attract monarch butterflies to your garden.

how-to-grow-milkweed-pv: Monarch catapillars like this one rely on common milkweed as their host plant each year.

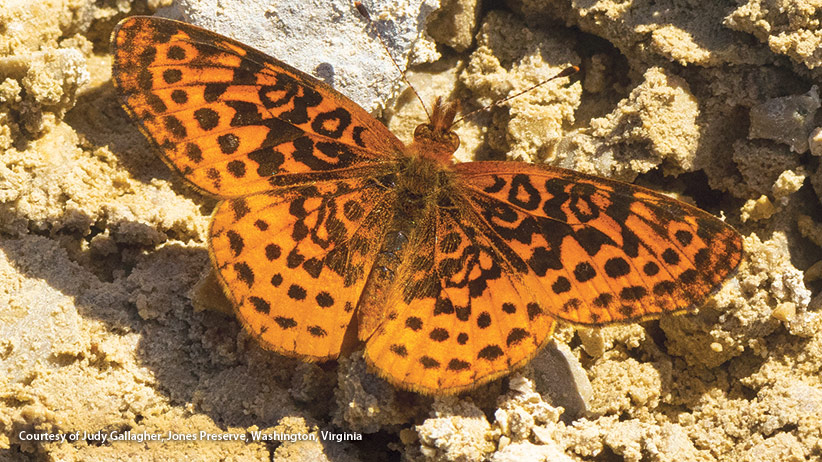
Support monarch butterflies with milkweed

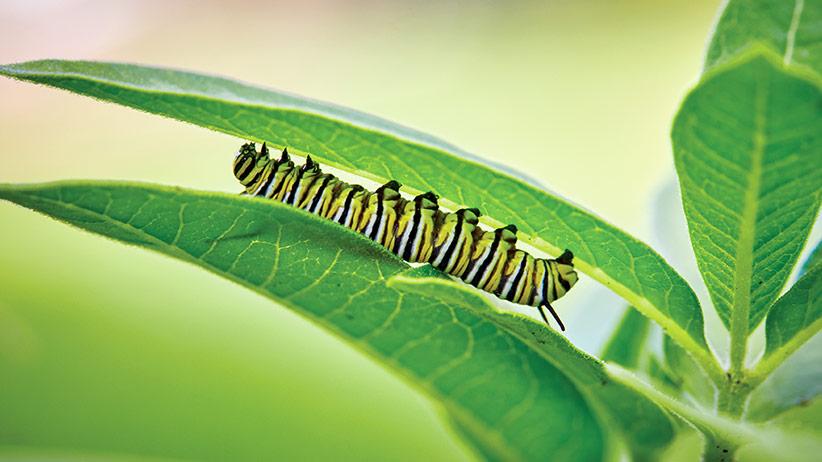
Want to help stop the decline of monarch butterfly populations and bring more of these fluttering beauties back into your garden? Plant milkweed —  it’s the sole food source for monarch caterpillars and is attractive to many pollinators for its nectar-rich flowers.

Where to buy native milkweed seeds & plants

The Xerces Society can help you find a seed source in your area. Visit their Milkweed Seed Finder here for more information.

how-to-grow-milkweed-plugs-short: Planting plugs of started milkweed is one way to grow milkweed in your garden.

Growing milkweed

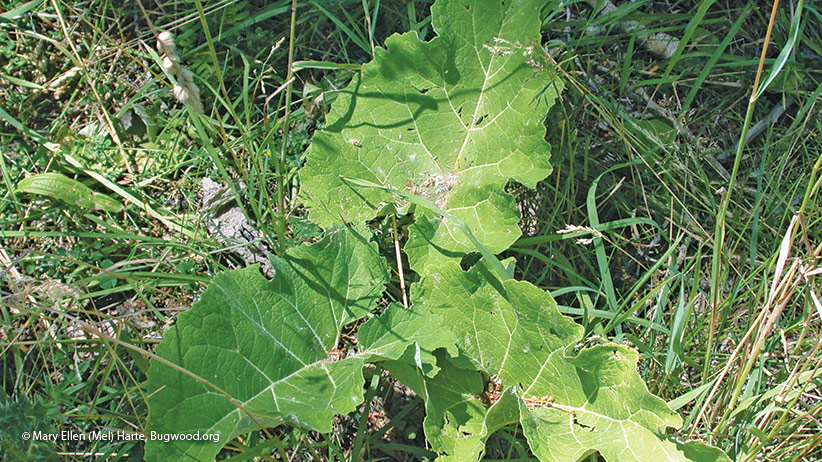
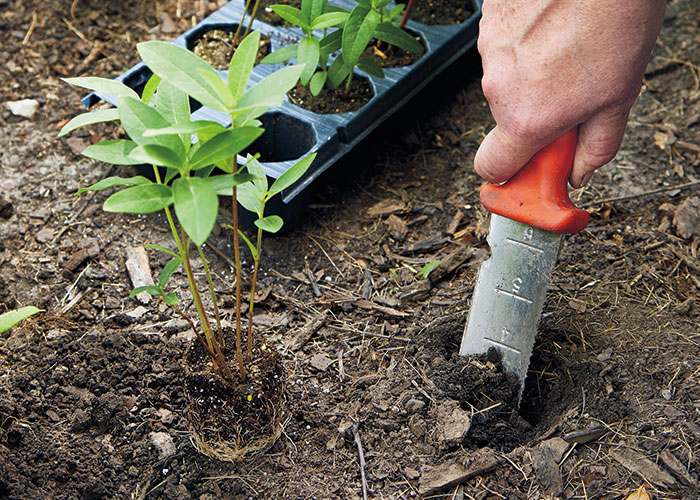
You can plant milkweed starter plants or plugs purchased at specialty nurseries like the sources listed above. Any species in the milkweed family will do, but the easiest to grow is the common milkweed, Asclepias syriaca. Plant them in full sun in groups of three to six spaced 6 to 24 inches apart scattered around your garden. Smaller groupings are less prone than mass plantings to insect or parasite infestations or predators. Also keep in mind that milkweed plants have some toxicity — so keep them out of places where livestock may graze and don’t let pets or children chew on them.

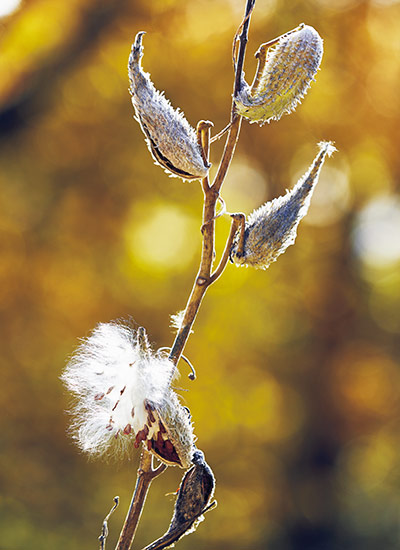
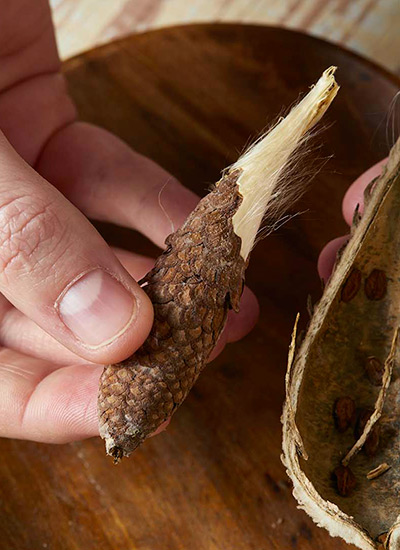
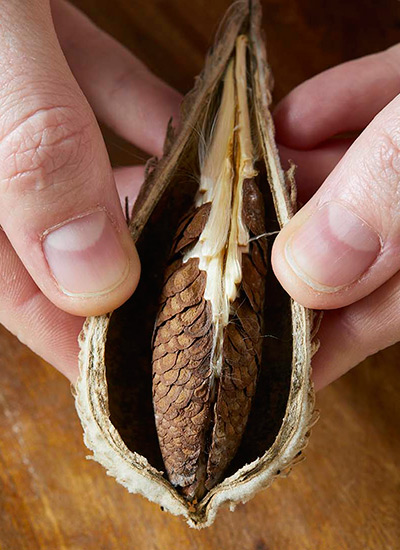
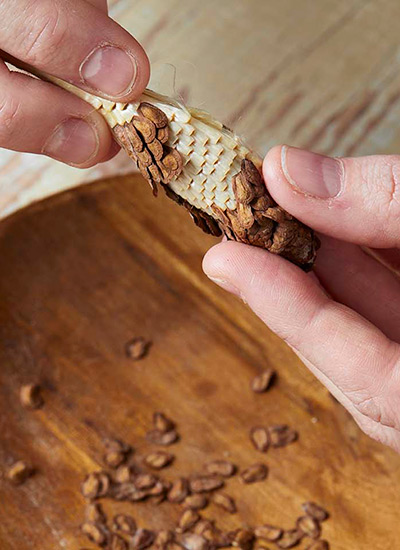
It’s also easy to collect milkweed seed (be sure to ask property owners first) and start it yourself. Scroll down to the gallery for our tips on how to collect the seeds from the pod.

milkweed-planting-seeds: Simply sprinkle milkweed seeds on well-tilled soil and pat them down, add a topdressing of soil and water them in. Fall-sown seed will be naturally stratified outside.

Planting milkweed seeds

Milkweed seeds need to be stratified to help them germinate. Stratification is when a seed is moistened, chilled or frozen and thawed, breaking down germination inhibitors on the seed coat, such as waxes, hormones, oils or heavy coats. Milkweed seed planted in fall is naturally stratified. Spring-planted seeds need to be pre-chilled in the refrigerator, which replicates the natural process of snow and cold breaking down the seed casing.

Planting milkweed seeds in fall

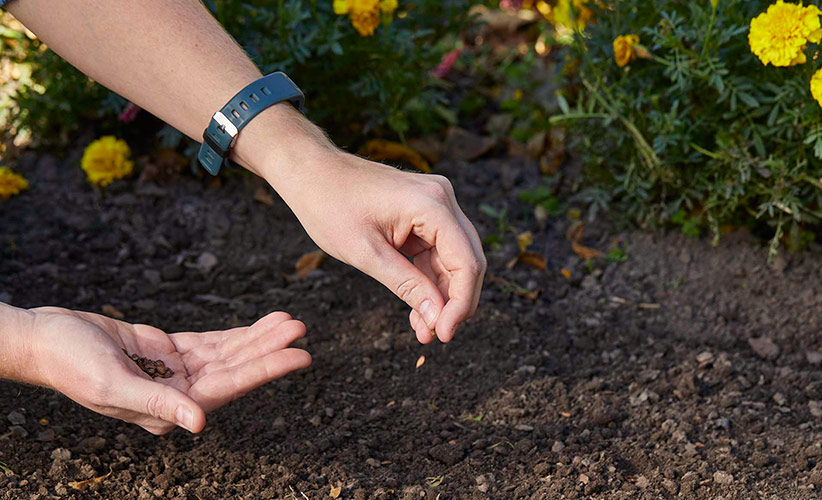
Plant seed in fall in a sunny location. Simply sprinkle seeds on well-tilled soil and pat them down, add a topdressing of soil, and water them in. Fall-sown seed will be naturally stratified outside.

Planting milkweed seeds in spring

You can plant milkweed seeds in early spring as soon as the soil can be worked, but they will need to be stratified for 2 to 3 months in the refrigerator before planting in spring for better germination.

When emerging milkweeds have three to four sets of leaves, thin seedlings to 6 inches apart.

Starting seeds indoors in winter

You can also start stratified seeds indoors in late winter. Sow 2 to 3 seeds in a pot filled with seed-starting mix, cover with ¼ inch of mix, water lightly and set under lights. Germination takes 7 to 10 days. Plant seedlings outside in a sunny spot when they have 3 to 4 sets of leaves and the ground is warm.

You Might Also Like:
Did You Know You Should Sow these Perennial Seeds in Fall?
6 Fall Perennials Butterflies Love
Use Flower Shapes to Attract Diverse Pollinators
4 Combos Butterflies Love

How to harvest milkweed seeds

See our tips below on how to easily harvest milkweed seeds from the pod.

Step 1: Harvest seed pod from milkweed plant

Step 1: Harvest seed pod from milkweed plant

Pick pods as they turn brown, dry and mature. The brown dried pod in the upper left is just beginning to split open — perfect to harvest the seed.

Once the floss fluffs out like the one in the lower left, it is harder to remove from the seed. Leave this pod alone to scatter seed in the wind.

Step 3: Carefully remove the milkweed seed cluster

Step 3: Carefully remove the milkweed seed cluster

The seed cluster can then be removed carefully from the milkweed pod. When fully ripe and dried, the seeds will be easily separated from the floss.

Step 2: Open milkweed seed pod

Step 2: Open milkweed seed pod

When you are ready to harvest seeds, pry open the dried pods at the split seam before the fluffy floss escapes.

Step 4: Separate seeds from milkweed floss

Step 4: Separate seeds from milkweed floss

Grip the floss end of the cluster with one hand and gently remove the seeds from the floss with the other hand, brushing them off into a bowl.

Let them dry for a week or so in a cool, dry location. Store them in an envelope at 40 degrees F or in the refrigerator to stratify until you are ready to plant in spring.

Step 1: Harvest seed pod from milkweed plant

Step 1: Harvest seed pod from milkweed plant

Pick pods as they turn brown, dry and mature. The brown dried pod in the upper left is just beginning to split open — perfect to harvest the seed.

Once the floss fluffs out like the one in the lower left, it is harder to remove from the seed. Leave this pod alone to scatter seed in the wind.

Step 2: Open milkweed seed pod

Step 2: Open milkweed seed pod

When you are ready to harvest seeds, pry open the dried pods at the split seam before the fluffy floss escapes.

Step 3: Carefully remove the milkweed seed cluster

Step 3: Carefully remove the milkweed seed cluster

The seed cluster can then be removed carefully from the milkweed pod. When fully ripe and dried, the seeds will be easily separated from the floss.

Step 4: Separate seeds from milkweed floss

Step 4: Separate seeds from milkweed floss

Grip the floss end of the cluster with one hand and gently remove the seeds from the floss with the other hand, brushing them off into a bowl.

Let them dry for a week or so in a cool, dry location. Store them in an envelope at 40 degrees F or in the refrigerator to stratify until you are ready to plant in spring.

Published: May 31, 2019
Updated: Aug. 15, 2022
Share:

Product Recommendations

Here are some supplies and tools we find essential in our everyday work in the garden. We may receive a commission from sales referred by our links; however, we have carefully selected these products for their usefulness and quality.

GDT_DutchTour2024_300x250

Related Tags

butterflies fall pollinator friendly seed saving seeds

Related Articles


GDT_NewsletterBanner_zone10
GDT_SubPromoAd_DigitalPremium_zone7and11MOBILE_Free_Book

You Might Also Like…

GDT_New Garden Idea Book_865x490_022024